
Surface cleaning is the invisible hero of paint preparation. Grease, silicone, chalked particles and dust that you cannot see at a glance quietly disrupt how the paint bonds. This article gives you a practical cleaning routine for every substrate type.
Contaminants that block paint adhesion
The following residues must always be removed before application:
- Oil and grease: dominant in kitchens, workshops and industrial environments.
- Silicone: leftovers from sealants, gaskets or sprays cause film detachment.
- Chalking: a fine powder layer aged by UV and rain on exterior facades.
- Adhesive residues: tape, stickers, double-sided tape.
- Secretions and nicotine: yellowing caused by cigarette smoke.
- Dust: always accumulates after sanding; the most frequently skipped residue.
A general cleaning workflow
Regardless of substrate or contamination, applying the following steps in order keeps cleaning safe and effective:
- Start with dry sweeping to remove loose dust.
- If there is grease, apply an alkaline cleaner at the recommended dilution.
- Scrub gently with a soft brush or sponge; avoid abrasive wire brushes.
- Rinse with plenty of water. Detergent residue weakens primer adhesion.
- Let the surface dry completely. Natural airflow is the safest method.
Room-specific rules
Each environment requires a different sensitivity before paint application.
Kitchen
- Grease film concentrates around the cooker hood; a double wash may be needed.
- Pay extra attention to tile grouts and skirting joints.
- Avoid scheduling deep frying or stove steam on the painting day.
Bathroom
- Use an acidic cleaner for soap scum and limescale; then neutralise and rinse.
- Treat mould and mildew areas with a dedicated biocidal product.
- Remember not to paint over silicone joints. Mask them carefully with tape.
Exterior facade
- Wash chalked dust completely. Otherwise, the new paint bonds to loose film.
- Treat moss and lichen areas with a specific cleaner first.
- Wait at least 48 hours after rain before painting.
Wood and metal trims
- For old varnish residues, wipe with a solvent before sanding.
- For rust on metal, prepare mechanically before applying a passivating primer.
Three frequent mistakes
The following errors appear in roughly half of all projects and are hard to fix afterwards:
- Painting right after washing: a damp surface causes blistering.
- Leaving foamy detergent without rinsing: residue becomes visible under primer like fingerprints.
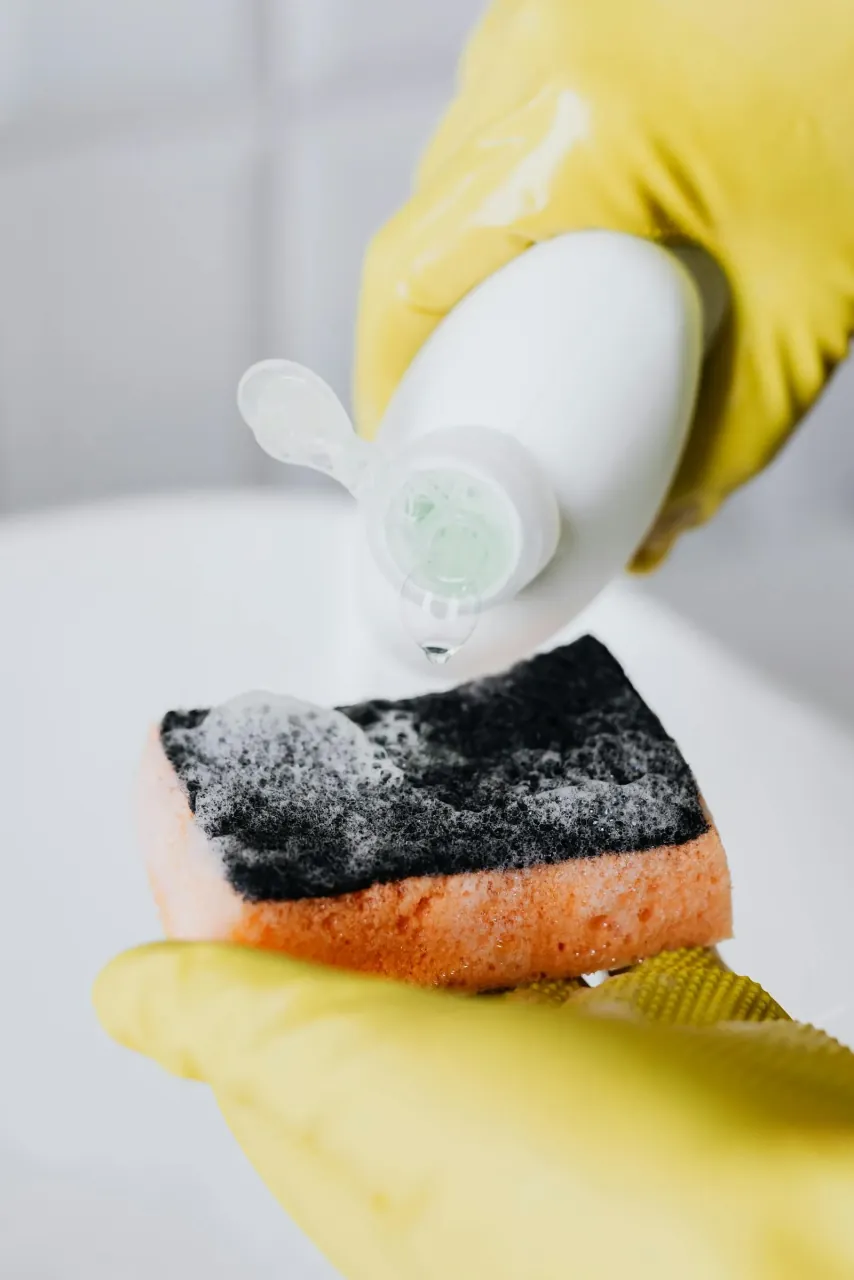
- Using an old sponge instead of a clean cloth: the sponge itself can transfer oils or silicone.
Quick checklist
Before application, confirm that:
- The surface is visibly clean.
- All detergent residue has been rinsed off.
- The surface reads as dry on a moisture meter.
- No dust or sticky marks remain.
- The recommended primer is opened and stirred.
Paint is unforgiving about cleaning shortcuts. Five minutes saved at this stage usually returns as five years of premature ageing.
